

Embroidery Digitizing Services for Custom Logos
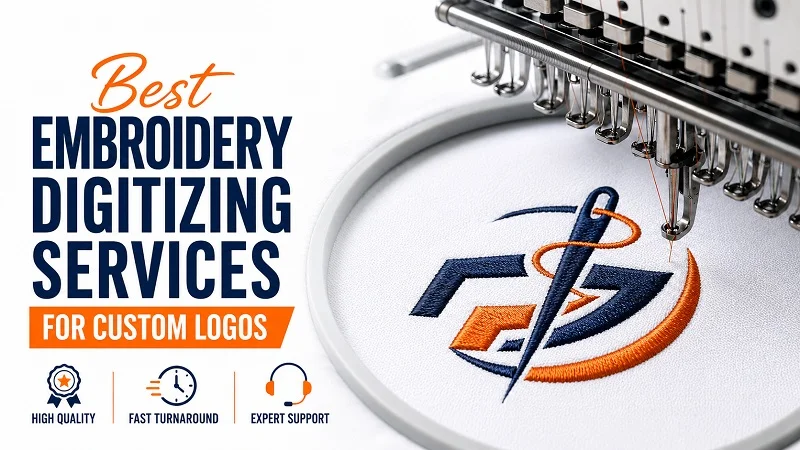
A logo that looks sharp in print may not produce the same result when embroidered on a uniform, cap, or jacket. Embroidery has physical limits that affect small text, fine details, colors, and overall shape. Custom logo digitizing adjusts the artwork for those limits so it can stitch cleanly on the intended fabric and size.
At PSA Digitizing, we work with businesses, embroidery shops, and apparel brands across the USA to prepare logos for exactly this kind of production. This guide explains what to look for in custom logo digitizing, common logo placements, and practical steps that can help produce a cleaner embroidered result.
What Custom Logo Digitizing Involves
Digitizing takes a logo — usually a JPG, PNG, PDF, or vector file — and rebuilds it as a set of stitch instructions an embroidery machine can follow. Beyond just tracing the shape, a digitizer has to decide stitch type, density, underlay, and color sequencing for each part of the design, all adjusted to the specific fabric it’s going on. A logo digitized for a cotton polo and the same logo digitized for a fleece jacket often need different settings, even though the artwork itself hasn’t changed.
What to Look for in Custom Logo Digitizing
Manual Adjustment, Not Just Auto-Digitizing
Automated digitizing can produce a starting point, but complex logos often need manual review and adjustment for stitch paths, density, underlay, and sequencing.
Fabric-Specific Settings
Density, underlay, and pull compensation change depending on what the logo is being stitched onto. A setup that works well on a polo shirt may need adjusting for a towel, cap, or performance fabric.
Clean Handling of Small Text
Small lettering — company names, initials, taglines — is one of the more common failure points in logo embroidery. Getting stitch type and spacing right at small sizes is what keeps text legible instead of blurring together.
Efficient Stitch Sequencing
A well-built file runs smoothly on the machine, with sensible color-change order and minimal unnecessary trims. Poor sequencing shows up as longer production time and more opportunities for misalignment.
Color Count and Thread Matching
Every additional thread color adds a stop and a trim, which affects both production time and cost. A digitizer familiar with common thread charts can also help match colors closely to your brand palette, though exact print-to-thread matches aren’t always possible since embroidery thread comes in a fixed range of shades rather than an unlimited color spectrum.
Types of Logo Placements Businesses Commonly Order
Custom logo digitizing covers a range of placements, each with its own considerations:
- Left chest logos — a common uniform placement, usually small and detail-sensitive
- Cap and hat logos — require digitizing adjusted for a curved surface; our cap embroidery digitizing guide covers this in more depth
- Jacket back designs — larger placements that can accommodate more detail than smaller logo applications
- Patches — often digitized separately from garment placement, then applied afterward
- 3D puff logos — a raised, foam-backed technique typically used on caps for a bolder look
- Appliqué logos — fabric-based designs stitched on top of a base garment rather than fully embroidered
- Monograms — personalized initials, usually smaller-scale and text-focused
Each placement type comes with its own size constraints and stitch considerations, which is why the same logo often needs separate digitizing files for, say, a cap versus a jacket back — resizing alone doesn’t account for the different stitching area or surface.
Embroidery Digitizing vs. Vector Art
These two services often get confused, but they solve different problems. Vector art is artwork prepared for printing, screen printing, or vinyl cutting — it’s still a flat image, just in a scalable format. Embroidery digitizing goes a step further, converting that artwork into stitch instructions a machine can run. Having a vector file can make the digitizing process smoother, since the shapes are already clean, but it still needs to be digitized separately before it can be embroidered — one doesn’t substitute for the other.
How Ordering Custom Logo Digitizing Works
The process on the customer side is straightforward: send the logo or artwork, specify the size, fabric, and placement, and let the digitizer prepare the file. Once it’s ready, you review it and request adjustments if needed before it goes into production. For a full breakdown of what happens on the digitizing side — stitch types, density, sequencing — our guide to digitizing a logo for embroidery covers that in detail.
File Formats for Custom Logo Digitizing
The format you need depends on your embroidery machine — common ones include DST, PES, and JEF, among others. If you’re not sure which one applies to your setup, our complete guide to embroidery file formats breaks it down by machine brand.
Tips for a Better Embroidered Result
- Share the cleanest version of your logo available, ideally a vector file
- Specify the exact size you need it stitched at, not just a general size range
- Mention the fabric type — cotton, denim, fleece, or cap material all behave differently
- Keep small text reasonably sized, since embroidery has physical limits that print doesn’t
- Confirm thread colors ahead of time so they match your brand accurately
None of these require design expertise on your part — they’re simply the details a digitizer needs to make accurate decisions instead of guessing. Providing them upfront usually means fewer revision rounds and a closer match to what you had in mind.
Where PSA Digitizing Fits In
We’ve digitized logos across uniforms, caps, jackets, and promotional apparel for customers across the USA for over 13 years, working in DST, PES, JEF, and other formats depending on the machine. Pricing starts at $10 for a simple logo, with turnaround typically within 4–12 hours. If you’re comparing providers more broadly, our guide to choosing a digitizing provider covers what to check beyond just price.
Final Thoughts
Custom logo digitizing quality comes down to details that aren’t visible until the design is actually stitched — fabric-specific settings, clean small text, and efficient stitching all matter more than how the file looks on a screen. Providing clear artwork, size, and fabric information upfront goes a long way toward getting it right the first time.
FAQ
How much does custom logo digitizing cost? Pricing depends on factors such as design complexity, size, stitch count, and any special requirements. Simple logos generally cost less than detailed designs with small text, multiple colors, or complex artwork.
What information do I need to provide for logo digitizing? Your logo file, the exact size you want it stitched at, the fabric or garment it’s going on, and your embroidery machine’s file format if known.
Can a printed logo be embroidered exactly as-is? Not exactly as-is. Print and embroidery are different mediums — gradients, very fine lines, and tiny details usually need to be simplified so they translate cleanly into stitches.
How is cap logo digitizing different from a regular logo? Cap logos are digitized for a curved surface with a smaller stitching area, which requires different stitch direction and density than a flat garment placement.
Do I need a vector file to get my logo digitized? It helps but isn’t required. A vector file gives a cleaner starting point, but raster formats like a high-resolution PNG or JPG can also be digitized.
Have a logo ready for embroidery? Get it digitized →