
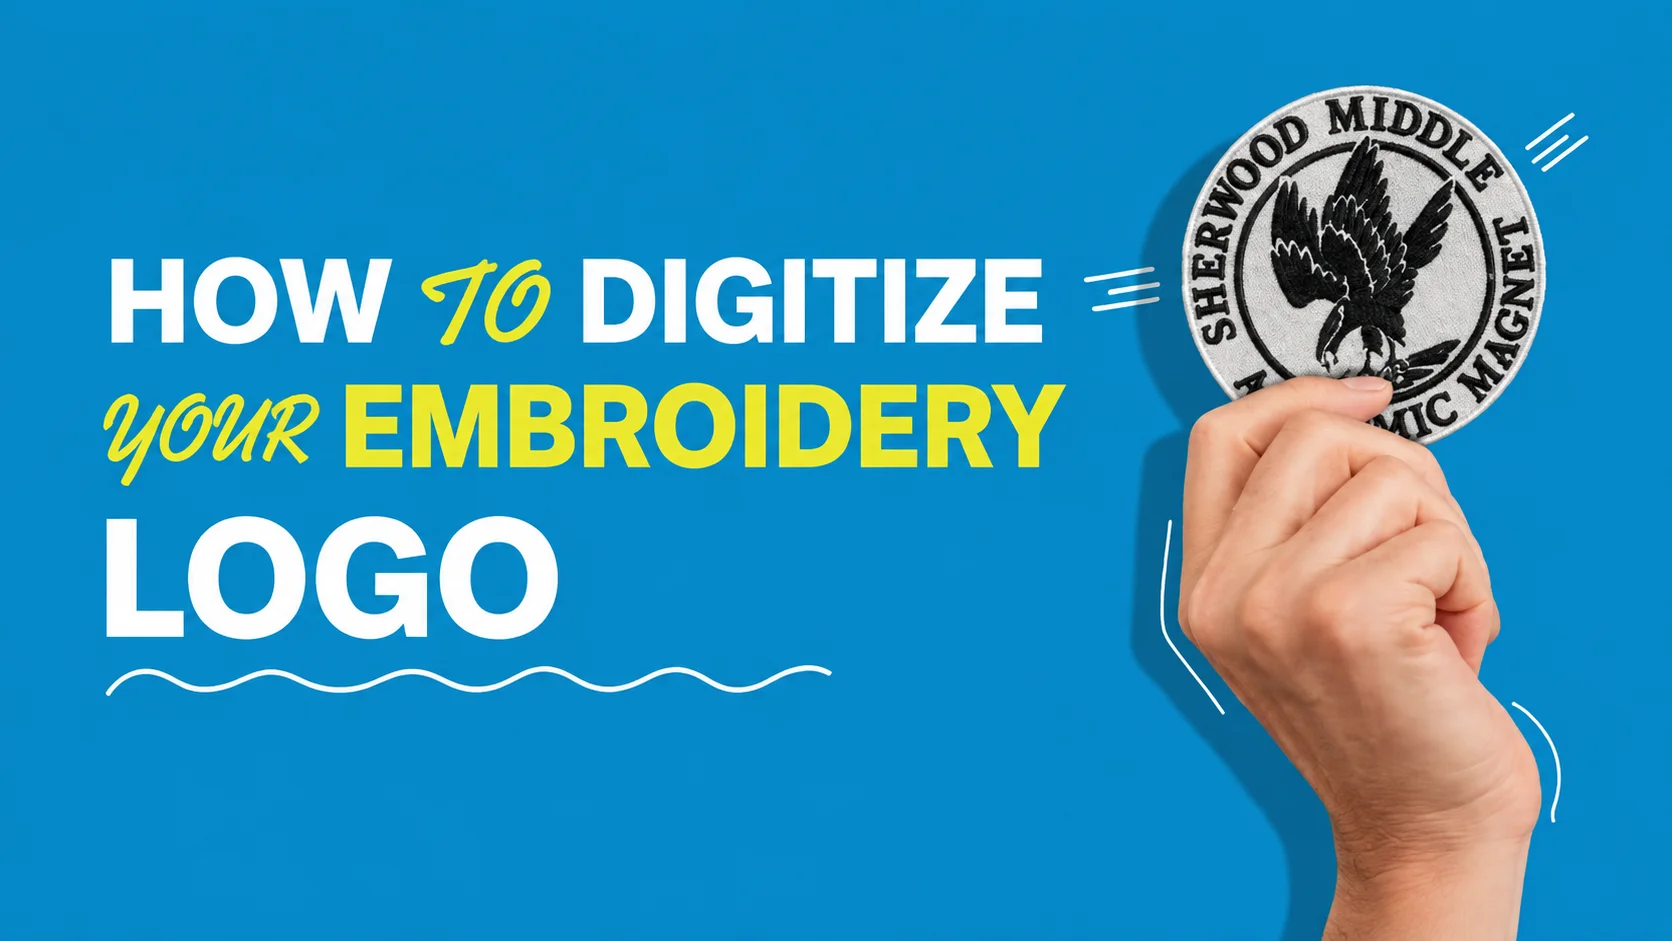
Learning how to digitize a logo for embroidery starts with understanding how artwork needs to change for stitching. A logo that looks perfect on a screen may not produce the same result on fabric, especially when it contains small text, thin lines, gradients, or fine details. Proper digitizing converts the artwork into stitch instructions while adjusting elements such as stitch type, density, direction, and sequence.
In this guide, you’ll learn how to digitize a logo for embroidery, which logo details can cause problems, common mistakes to avoid, and when it makes sense to use professional digitizing services.
What Does It Mean to Digitize a Logo for Embroidery?
Digitizing a logo means converting it from a flat image — like a JPG, PNG, or vector file — into a stitch file an embroidery machine can read. Instead of storing pixels or shapes, the file stores instructions: where each stitch goes, what type of stitch to use, and when the thread color changes. A regular image file can’t be loaded onto an embroidery machine directly; it has to be rebuilt, stitch by stitch, into a format the machine understands.
How to Digitize a Logo for Embroidery
1. Prepare the Artwork
Start with the cleanest version of your logo available — vector formats like AI, EPS, or SVG give the most accurate starting point, though a high-resolution PNG or JPG can work too. Blurry or low-resolution artwork makes every step after this harder.
2. Set the Final Size
Decide where the logo will be stitched and at what size. A logo digitized for a large jacket back needs different detail handling than the same logo shrunk down for a small left-chest placement.
3. Choose Stitch Types
Different parts of the logo need different stitch types — text usually needs a different treatment than solid fill areas or outlines. This step is covered in more detail below.
4. Set Stitch Density and Underlay
Density controls how tightly stitches are packed, and underlay is a base layer that stabilizes the fabric underneath. Get either wrong and the result can pucker, gap, or come out looking thin.
5. Plan Stitch Direction
The direction stitches run affects how light reflects off the thread, which changes how clean or dull a section looks once it’s actually sewn — not just how the file looks on screen.
6. Plan Stitch Sequence and Color Changes
The order stitches run in affects both efficiency and quality. Poor sequencing means more thread trims and color changes than necessary, which adds time and increases the chance of misalignment.
7. Export to a Machine-Ready File
Once the design is built, it’s exported into the format your embroidery machine reads — DST, PES, JEF, and others each work with different machine brands.
8. Test the Stitch-Out
A sample run on the actual fabric confirms the design stitches cleanly before it goes into full production. Skipping this step is one of the more common reasons a “finished” file doesn’t perform the way it looked on screen.
Choosing the Right Stitch Type for Your Logo
Stitch type is one of the most consequential decisions in the process, and it’s worth understanding on its own:
- Running stitch — A single line of stitching, best for fine outlines and small details where a thicker stitch would blur the shape.
- Satin stitch — Used for text, borders, and narrower shapes, giving a smooth, slightly raised finish.
- Fill stitch — Used to cover larger solid areas, offering more durability and texture than satin at scale.
Matching the wrong stitch type to a logo element is one of the more common reasons a design looks off — satin stitch over too wide an area can look bulky, while fill stitch on fine text tends to lose definition.
Why Some Logo Details Don’t Work Well in Embroidery
This is the part most guides skip, and it’s often the actual source of a disappointing result:
- Gradients — Embroidery can’t blend colors the way print does, so gradients typically need to be simplified into solid color bands.
- Thin fonts and small text — Below a certain size, thin lettering tends to fill in or become illegible once stitched, especially with satin stitch.
- Fine details — Small elements that read clearly in print — thin lines, tiny icons — often get lost or merge together at embroidery scale.
- Too many colors — Every color change adds a thread trim and stop, increasing both production time and cost, and very detailed multi-color logos may need to be simplified.
Knowing this before you order — or before you sit down to digitize it yourself — helps set realistic expectations for how close the final result will match the original artwork.
Common Logo Digitizing Mistakes
- Wrong stitch density — too tight causes puckering, too loose leaves gaps
- Ignoring the fabric type — a setting that works on cotton may not work the same way on fleece or performance fabric
- Mismatched stitch type — using fill where satin belongs, or vice versa
- Skipping size testing — a design that works at one size may not hold up shrunk down for a smaller placement
- Skipping the test stitch-out — the fastest way to catch a problem before full production
- Overcomplicated artwork — trying to preserve every gradient and fine detail instead of simplifying for embroidery
DIY vs. Professional Logo Digitizing
Whether to digitize a logo yourself or hire a professional usually comes down to what the logo actually looks like and what you’re using it for:
- Simple logo, one or two colors, no fine text or gradients — DIY with beginner-friendly software is realistic, especially for personal or low-volume projects.
- Detailed logo with gradients, thin text, or many colors — this is where digitizing quality matters most, and where inexperienced digitizing tends to show. A professional digitizer knows how to simplify these elements without losing what makes the logo recognizable.
- Business or client-facing use — even a moderately simple logo is often worth having professionally digitized, since a clean, reusable file across garment types and machines saves rework later.
DIY digitizing also comes with a real learning curve — most software takes time to learn, and getting density, underlay, and sequencing right often takes several attempts. For a one-off personal project, that trade-off might be worth it. For anything client-facing or recurring, the time saved usually outweighs the cost of getting it digitized the first time professionally.
What File Format Does Your Embroidery Machine Need?
The format your machine needs depends on its brand. DST is widely used by Tajima and many commercial embroidery machines, while PES is commonly associated with Brother and Baby Lock machines, and JEF with Janome. Getting this wrong is one of the most common reasons a finished file won’t load at all. For a full breakdown of formats and which one applies to your setup, see our complete guide to embroidery file formats.
Final Thoughts
Digitizing a logo well comes down to more than just running it through software — it’s about understanding which parts of your specific design will translate cleanly into stitches and which parts need to be simplified first. If your logo has small text, fine details, or needs to work across multiple garments and machines, professional digitizing can help turn it into a clean, production-ready file. For cap or hat-specific placement, our cap embroidery digitizing guide covers the added considerations of a curved surface, and if you’re still choosing your equipment, our beginner’s guide to embroidery machines is a good starting point.
FAQ
How do I digitize a logo for embroidery? Start with clean artwork, set the final stitch size, choose appropriate stitch types for each element, set density and underlay, plan stitch sequence, export to your machine’s format, and test the stitch-out before full production.
Is digitizing a logo hard? It has a real learning curve. Simple, low-detail logos are manageable for beginners, but detailed logos with gradients or fine text are where experience makes the biggest difference in the final result.
Can I digitize a logo myself? Yes, especially for simple designs and personal projects using beginner-friendly software. For detailed or client-facing work, professional digitizing tends to produce a more reliable result.
What software is used to digitize a logo for embroidery? Embroidery digitizing software is used to convert artwork into stitch instructions. Different programs offer different levels of automation and manual control, so the best choice depends on your experience and the complexity of the logo.
How do I know if my logo will digitize well? Logos with solid colors, clear shapes, and readable text at the intended stitch size tend to digitize cleanly. Gradients, very thin lines, and small text are the details most likely to need simplifying first.
Not sure how your logo will translate to embroidery? Get it professionally digitized →