
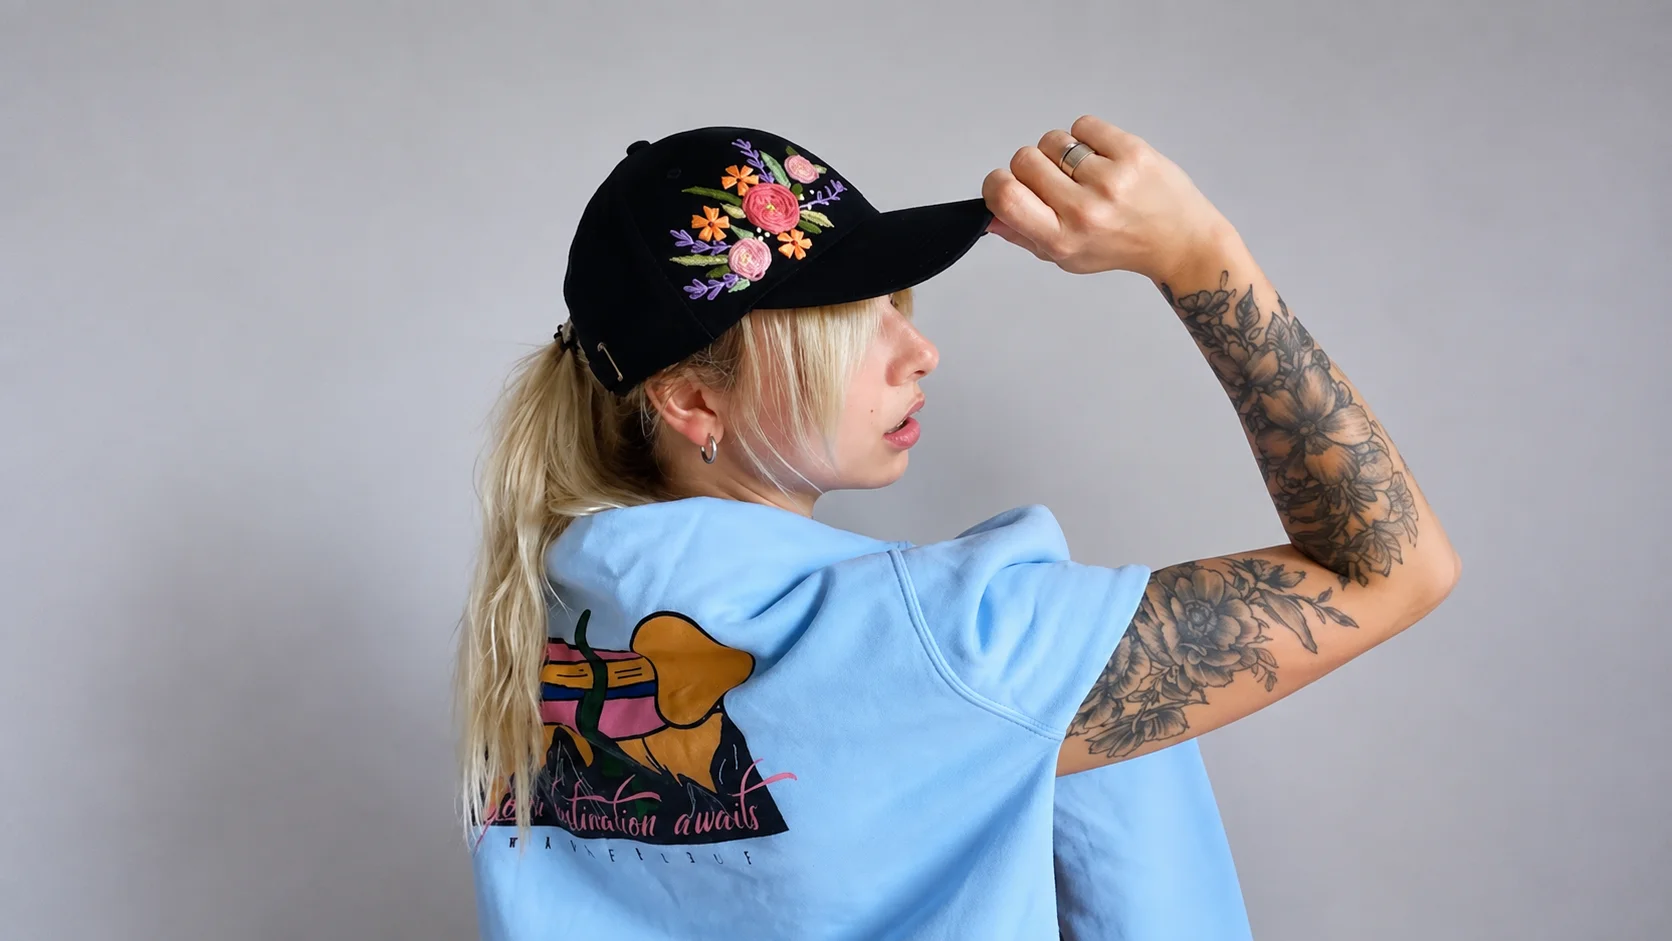
If you run an embroidery shop, apparel brand, or promotional products business in the USA, you already know caps are one of the trickiest items to digitize well. A design that looks perfect on a flat logo file often breaks apart, puckers, or shifts once it hits a curved cap surface. That’s what cap embroidery digitizing services exist to fix — turning your artwork into a stitch file that’s built specifically for the shape of a hat, not just resized from a regular logo file.
In this guide, we’ll cover what cap and hat logo digitizing actually involves, the mistakes that ruin most cap designs, embroidery file formats explained, what to check before ordering, and how the process works from artwork to finished stitch file.
What Is Cap Embroidery Digitizing?
Cap embroidery digitizing — also called cap logo digitizing — is the process of converting a logo or design into a machine-readable stitch file (DST, PES, JEF, or EXP) that’s adjusted specifically for the curved, limited stitching field of a cap. Unlike a flat garment, a cap doesn’t sit still under the needle the same way, so the cap stitch file has to account for that curvature from the very first stitch point.
Hat Embroidery Digitizing vs. Flat-Garment Digitizing
Hat embroidery digitizing and flat-garment digitizing aren’t interchangeable. A stitch file built for a t-shirt or a jacket back rarely translates cleanly onto a curved cap panel without rework — the stitch angles, density, and pull compensation all need separate treatment for a curved hoop versus a flat one. If you’ve ever had a design come back looking “off” after moving from a shirt file to a hat, this mismatch is usually why. For flat apparel and full-back designs, standard embroidery digitizing services work fine — caps are the exception that needs dedicated handling.
Custom Cap Digitizing — Why It Needs Special Handling
Custom cap digitizing isn’t just “shrink the logo and stitch it.” A few structural factors make caps different from flat apparel:
Curved Surface
The hoop holds the cap at an angle, so stitch paths that work on a flat file can distort once sewn. Digitizers have to compensate for this curve in the file itself, not fix it after the fact.
Limited Stitching Area
Most cap designs are digitized for a small front panel — usually 2 to 2.5 inches — so detail has to be simplified without losing the design’s identity. Fine text or intricate line work that looks fine on paper often has to be adjusted to survive at this scale.
Stitch Direction
On a cap, stitch direction affects how light reflects off the thread and how clean the final embroidery cap logo looks. Get it wrong, and even a simple design can look uneven or dull once stitched.
Raised or 3D Effects
Some cap designs call for a raised, foam-backed look rather than a flat stitch. This is a separate technique — 3D puff digitizing — and it needs its own density and underlay settings on top of the standard cap adjustments.
Common Mistakes in Cap Digitizing
A lot of embroidery quality issues on caps trace back to the digitizing stage, not the machine or the thread itself. The most frequent ones we see:
- Wrong stitch direction for the curve of the cap, leading to a warped or dull appearance
- Incorrect underlay or density, causing puckering, gaps, or thread breaks mid-run
- Poor placement mapping, especially on structured vs. unstructured caps, which sit differently on the head
- Ignoring 3D puff requirements when the design calls for a raised, foam-backed effect but is digitized flat
- Using a flat-garment file as-is instead of re-digitizing it for the cap’s curvature
Structured vs. Unstructured Caps — Why It Matters for Digitizing
Structured caps (with a firmer buckram front panel) hold their shape and give a digitizer a more predictable surface to work with. Unstructured caps are softer and flex more during stitching, which means density and stabilization settings usually need to be adjusted differently than for a structured cap. If you’re ordering the same logo for both cap styles, it’s worth flagging this at order time rather than assuming one cap stitch file will work cleanly on both.
Best File Formats for Cap Embroidery
Choosing the right embroidery file format matters as much as the digitizing itself — the wrong format simply won’t run on your machine. Here’s when each one applies:
- DST (Tajima) – The closest thing to a universal commercial format. Most multi-head and industrial machines, including non-Tajima brands, can read it.
- PES (Brother) – Native format for Brother and Baby Lock machines, and stores color information the file itself.
- JEF (Janome) – Janome’s proprietary format, required for Janome machines specifically.
- EXP (Melco) – Common on Melco and many commercial multi-head systems as an alternative to DST.
If you’re unsure which format your machine needs, checking your machine brand against a reference like Wilcom’s format guide is a reliable way to confirm before ordering.
What to Look for in a Cap Digitizing Service
Before you send a cap design out for digitizing, it’s worth checking a provider offers:
File Format Support
DST, PES, JEF, and EXP — so the finished cap stitch file works with your specific embroidery machine without needing a separate conversion step.
Reasonable Turnaround
Fast delivery without rushing the actual digitizing work, since cap files often need more careful density and placement adjustments than flat designs.
A Clear Revision Policy
In case the first stitch-out needs adjustment — this matters more for caps than flat garments, since curvature issues are harder to predict from a flat preview.
Proofing Before Production
Some form of review before the file goes into full production, so any placement or sizing issues get caught early.
Need a cap-ready stitch file? Upload your artwork and receive your digitized file within 4–12 hours.
Cap Type and Digitizing Approach
Different cap styles need different digitizing treatment. Here’s a quick reference:
| Cap Type | Recommended Digitizing Approach |
|---|---|
| Structured Cap | Standard cap digitizing with curvature compensation |
| Unstructured Cap | Lower density and adjusted underlay for a softer surface |
| 3D Puff Cap | Puff digitizing with foam-specific density settings |
Cap Digitizing at PSA Digitizing
We’ve worked with embroidery shops, apparel brands, and promotional product businesses across the USA for over 13 years, digitizing designs for logos, caps, uniforms, and custom apparel. Our digitizers adjust stitch direction, pull compensation, and underlay specifically for structured and unstructured caps — the details that most affect how clean a cap design looks once it’s actually stitched.
At PSA Digitizing, cap orders go through the same core process as any other digitizing order:
- Upload your artwork (JPG, PNG, PDF, AI, EPS, or SVG)
- Select your specs — digitizing type and design complexity
- We digitize and prepare the file in your required machine format
- You review and request free revisions if anything needs adjusting
Pricing starts at $10 for simple cap logos, with delivery typically within 4–12 hours depending on complexity. If your artwork isn’t print- or stitch-ready yet, our vector conversion services can clean it up before digitizing. You can also browse examples of past cap and logo work in our portfolio.
FAQ
Is cap logo digitizing different from regular embroidery digitizing? Yes. Cap logo digitizing accounts for the curved surface and limited stitching area of a hat, while regular digitizing is built for flat garments.
How much does cap embroidery digitizing cost? Pricing starts at $10 for a simple logo. More detailed or multi-color designs may cost more depending on complexity.
Which file format do I need for embroidery caps? It depends on your embroidery machine. We provide files in DST, PES, JEF, EXP, and other formats on request — just let us know your machine type when ordering.
How long does cap digitizing take? Most orders are completed within 4–12 hours. More complex or detailed designs may take longer.
Can you digitize custom cap embroidery designs from a logo or sketch? Yes. You can submit a logo, artwork file, or even a rough sketch, and we’ll prepare it as a cap-ready stitch file.
Does cap digitizing work differently for flat caps vs. curved caps? Yes. The stitch path, density, and placement are adjusted based on the cap’s shape to avoid distortion once stitched.
Can I get free revisions if the stitch-out doesn’t look right? Yes. We offer free revisions until the design meets your expectations.
What’s the difference between cap digitizing and regular logo digitizing? Cap digitizing accounts for the curved surface, limited stitching area, and stitch direction needed for a hat — a flat logo file digitized the same way often looks distorted once stitched on a cap.