
By the PSA Digitizing production team — notes pulled from real puff files we’ve digitized for cap makers, patch brands, and apparel companies nationwide.
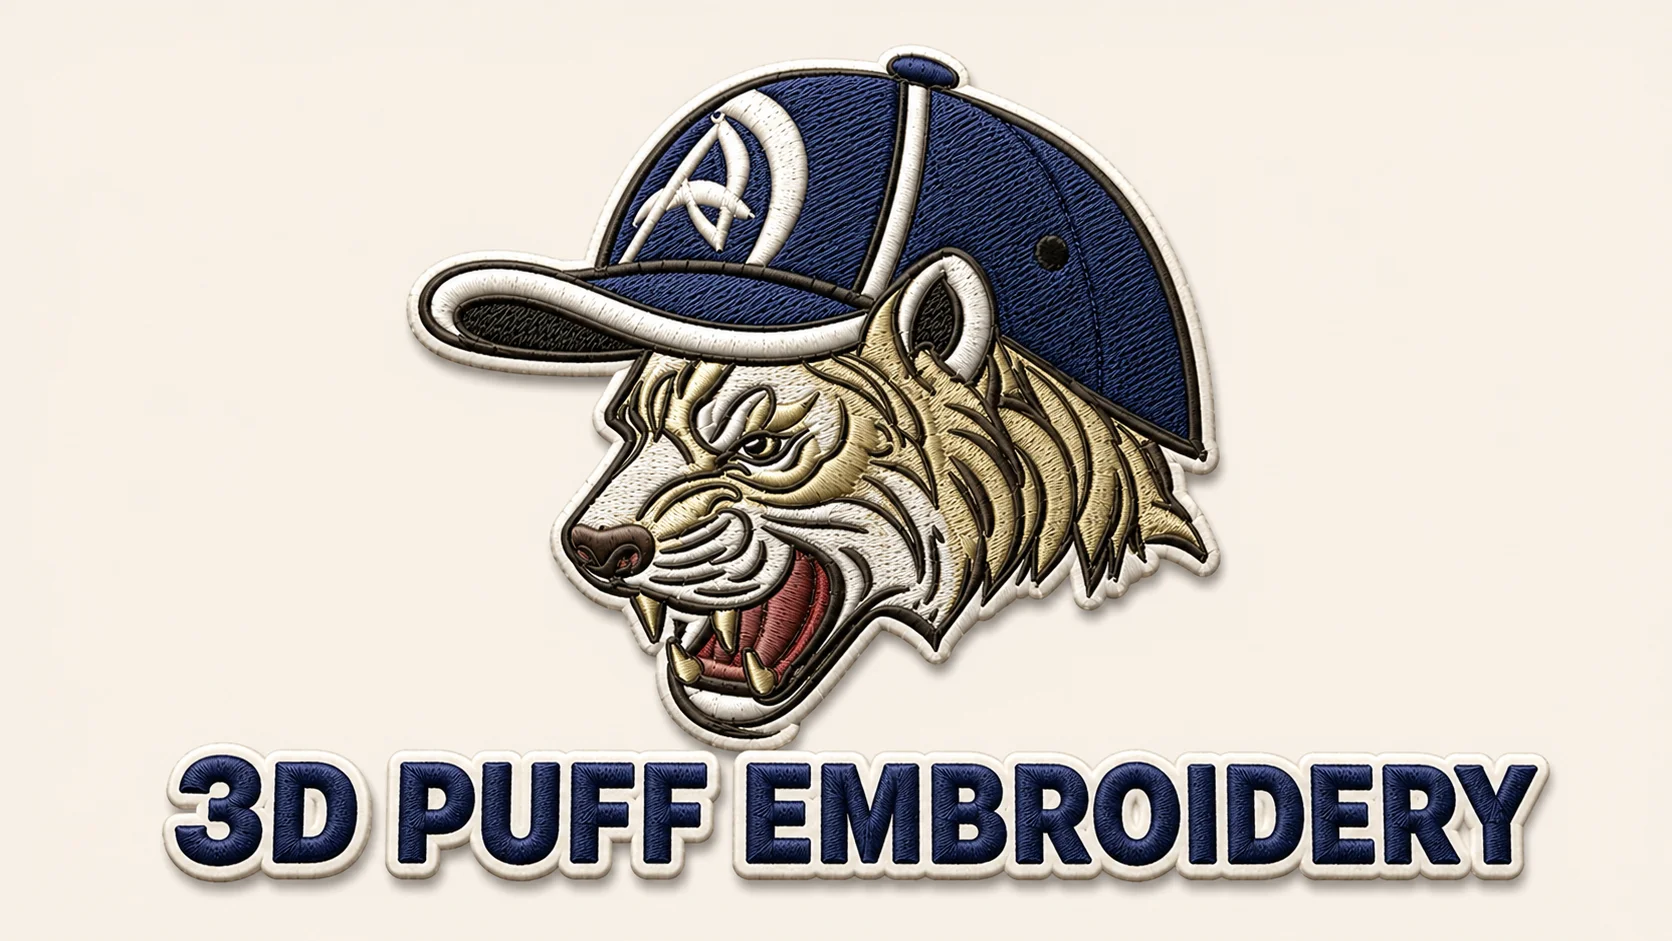
Run your finger over a raised, bold logo on the front of a cap and you’re feeling 3D puff embroidery — not printed, not appliquéd, just thread and foam built to hold a shape. It’s one of the most-requested finishes that comes through our queue, and also one of the easiest to get wrong, because a puff file is never just a flat design with foam dropped underneath it. The construction changes from the first stitch onward.
Below is what we’ve learned about foam, fonts, and machine setup after building puff files for hundreds of caps, patches, and apparel runs.
What Puff Embroidery Actually Is
Strip away the marketing language and it’s a mechanical process: foam gets placed under a section of a design, satin stitches sew over that foam and compress it into shape, and once the machine’s done, the excess foam around the edges gets trimmed off. What’s left sits proud of the fabric instead of sinking into it.
Compare that to flat embroidery, which never leaves the surface of the garment — it’s thread on cloth, nothing more. Puff adds actual, measurable height, typically in the 2–6mm range depending on which foam gets used, and that physical lift is exactly why it’s taken over as the default look for cap logos, team crests, and varsity lettering.
Building a Puff File, Step by Step
On the production floor, four things happen in order: foam gets positioned under the puff areas of the design, the machine stitches satin columns directly over it (locking it in place and capping the edges as it goes), the excess foam around the stitched edges gets trimmed away, and what remains is the finished raised design.
That’s the part anyone can watch happen. What actually determines whether the result looks clean or sloppy happens earlier, at the digitizing stage — stitch density, satin width, and underlay all have to be calculated around the specific foam thickness being used. Skip that step and just run a flat-embroidery file over foam instead, and you’ll almost always end up with uneven coverage or foam that doesn’t hold once the fabric flexes.
Foam: Types, Thickness, and What We Actually Use
The foam is what creates the raised effect, so getting this choice right matters as much as the digitizing itself.
We only work with embroidery-grade foam on production runs — the craft-store variety doesn’t hold density once it’s compressed and trimmed, so it’s not something we’d risk on a client’s order. Within embroidery-grade foam, thickness is where the real decisions happen. For small logos or anything with fine detail, we drop to 1–2mm so the bulk doesn’t overwhelm delicate stitching. Most of what crosses our desk — standard cap logos, lettering — lands on 3–4mm, since it delivers a noticeable lift without pushing us into the heavier stitch density that thicker foam demands. We only reach for 5–6mm when a client specifically asks for that chunkier, more exaggerated look, and even then it comes with a warning that the stitch density and satin width both need to widen to control it properly, or the edges won’t hold.
Color is one thing clients ask about more than it actually matters. We keep white and black in stock mainly because they’re least likely to show through at the stitch edges against light or dark thread — it’s a practical choice, not an aesthetic one.
One rule we don’t break: a file built for 2mm foam doesn’t transfer cleanly to 5mm foam. The stitch settings have to scale with the foam thickness, every time — we don’t treat them as swappable.
Fonts That Actually Work for Puff Embroidery
Not every typeface survives having foam added underneath it, and font choice is one of the biggest reasons puff designs succeed or fail before they even reach the machine.
Bold beats thin every time — thick, blocky letterforms hold foam far better than anything delicate or hairline. The same goes for shape: fonts with generous curves and open spacing puff more evenly than condensed, tightly-packed styles, and fine serifs or connected script strokes tend to blur into each other once the foam raises the surface underneath them. Stitch width has a hard floor too — on the caps we digitize, letters don’t go below a 3mm satin width, because we’ve watched thinner strokes compress under the foam and lose their shape within the first few stitches. Size plays into this as well: text under about half an inch tall rarely holds a clean puff shape, simply because there isn’t enough surface area for the foam to compress evenly.
If a typeface looks sharp flat but leans on thin strokes or tight spacing, it’s usually not going to translate to puff without redesigning the lettering specifically for the technique — converting the file as-is won’t fix that.
Machines, Thread, and Tension Settings
This kind of work is built for commercial-grade machines — Tajima, Barudan, Brother, and Melco cover most of what our clients run, and we prepare every file so it sews cleanly regardless of which of those it lands on.
Home embroidery setups are where things tend to fall apart. Puff work pulls roughly double the thread of a flat design just to fully cover the foam, and that extra tension and stitch volume is often more than a smaller machine is built to handle without skipping or jamming. Thread quality stops being optional at this point too — cheap or thin thread snaps under puff-level tension, so we stick to high-grade polyester or rayon. We’ve also settled on our own tie-in and tie-off standard: around 5 stitches on each end, up from the usual 3, after watching standard tie-offs pull loose specifically on puff jobs. Needle choice matters more than people expect as well — go too fine and friction climbs along with thread breaks, so most of our puff work runs on a slightly heavier needle than we’d use for flat embroidery. And at the finishing stage, capping and pinching — the techniques that lock satin stitching down around the foam’s edges — are easy to treat as optional, but skipping them is one of the more common reasons we see foam start lifting after just a few wash cycles.
None of this is anything a standard flat-embroidery file accounts for, which is exactly why puff-specific digitizing exists as its own discipline rather than a setting you toggle on an existing file.
Where This Technique Actually Belongs
Puff doesn’t work everywhere, and knowing where to skip it saves a lot of trial and error. Structured six-panel caps are still the strongest use case by a wide margin. Beyond that, it holds up on hoodies and heavier sweatshirts where the fabric can carry the extra stitch weight, and it’s a natural fit for bold logos, numbers, and lettering — anything thin or detailed loses the battle against the trimming process. Team and varsity-style branding leans on puff constantly, since that raised, chenille-adjacent look is practically the house style for sports merch.
One more common use worth mentioning: puff patches. These are digitized and stitched as standalone pieces, then heat-pressed or sewn onto jackets, uniforms, or bags after the fact. The advantage is reusability — one digitized patch design can go on a hundred different products without the file being rebuilt each time.
Getting a Clean Result on the First Try
A few habits separate a puff design that turns out crisp from one that comes back looking rough:
Stick to bold, simple shapes — thick letters and clean geometry survive the foam-and-trim process far better than fine lines ever will. Size the foam to the design, not the other way around: small logos want thinner foam, and only bigger, bolder artwork should get the thicker stuff. Before committing to a full production run, get one sample sewn out first — it’s a lot cheaper to catch a density problem on one cap than to discover it after fifty are already stitched. And when you’re sourcing the digitizing itself, ask directly whether the file is being built as dedicated puff work or just a flat file with foam settings bolted on — those two are not interchangeable, no matter what the price sheet says.
Where Puff Files Go Wrong
Most failed puff jobs trace back to one of a handful of causes: stitch density set too loose (the foam peeks through) or too tight (thread starts snapping), pull compensation that’s off enough to leave visible gaps once the foam gets trimmed, tie-offs too weak to survive a wash cycle, or — the big one — a file that was digitized as if it were flat and just run over foam anyway.
That last one is the mistake we see most often when a client brings us a design for correction. One case that stands out: a customer sent over a logo that had been digitized flat and stitched straight over foam without any adjustment — the edges had already lost their shape by the first wash. It’s a fix that’s simple to avoid at the digitizing stage and expensive to undo once a whole batch has already gone through production.
Does the Extra Cost Make Sense?
3D Puff embroidery isn’t cheap compared to a flat stitch-out — the foam itself, the added trimming labor, and the specialized digitizing all stack onto the price. Across the US market, puff-specific digitizing usually carries a noticeably higher rate than a standard flat file, before even factoring in what the embroiderer charges to run the foam and stitching.
For most cap and apparel businesses, that added cost pays for itself. A raised logo reads better in product photos, catches attention faster on a shelf, and just looks more premium than the same design stitched flat — if branding is doing real work for your product line, the upgrade tends to be worth what it costs.
Bottom Line
We’ve dealt with enough puff files at this point to have a clear opinion: the technique earns its price tag when it’s matched to the right product and digitized correctly from day one. It’s not something to bolt onto a design as an afterthought — artwork that wasn’t planned for puff (thin fonts, small text, delicate line work) rarely turns out well, regardless of how experienced the embroiderer running the machine is.
Used where it belongs — caps, team gear, streetwear, varsity branding — it delivers. A raised logo photographs better for listings, holds a viewer’s eye longer, and elevates even a basic single-color mark beyond what flat embroidery can manage. The catch is longevity: puff isn’t built for anything that sees regular washing or dry cleaning, since heat exposure over time breaks the foam down.
So: bold artwork, a cap or similarly structured product, and infrequent washing — that’s the combination where 3D puff pays off the most. Missing one of those three, and flat embroidery (or a separately applied puff patch) is usually the more practical call.
Frequently Asked Questions
How is 3D puff embroidery different from standard embroidery? Standard embroidery is stitched straight onto the fabric, so it sits flat. Puff embroidery adds a foam layer under the stitching first — the thread then compresses and caps that foam, which is what gives the design its raised, textured look instead of a flat one.
How thick should the foam be? For most of the work we do, 2–4mm covers it. Go thinner for small or detailed logos so the foam doesn’t overwhelm the design; go thicker only when the client specifically wants a chunkier, more exaggerated lift, and be ready to adjust stitch density to match.
Does puff embroidery work on anything besides caps? It can, but caps remain where it performs best. Heavier fabrics — hoodies, thick jackets — can support the extra stitch weight. Thinner materials like polo shirts generally can’t handle the added foam and stitching without puckering.
Will the raised effect survive regular washing? For items that aren’t washed constantly, like caps, yes — it holds up well. For garments that go through the wash and dryer often, the foam tends to compress and flatten over time due to repeated heat exposure, so we don’t recommend puff for high-wash items.
Can a flat embroidery file just be run over foam instead? Not successfully. A flat file’s stitch density, underlay, and satin settings are calculated for fabric alone, not for the extra height and compression foam adds — running it over foam anyway is one of the most common reasons a puff job comes back uneven.
Who’s Behind This
PSA Digitizing digitizes every file by hand — no auto-digitizing shortcuts — and each one goes through an internal quality check before it ships. Output formats cover the commercial standards (DST, PES, JEF, EXP), and the work spans logos, caps, jackets, uniforms, patches, and puff designs specifically. Pricing starts at $10 with a 4–12 hour turnaround, and if a sew-out reveals something that needs adjusting, the revision is free — which matters more on puff work than almost anything else, since a small density or placement fix is usually the difference between a clean run and a wasted sheet of foam.
Need a file built right the first time? See PSA Digitizing’s embroidery digitizing services or check the homepage for the full lineup covering caps, patches, and custom apparel.