
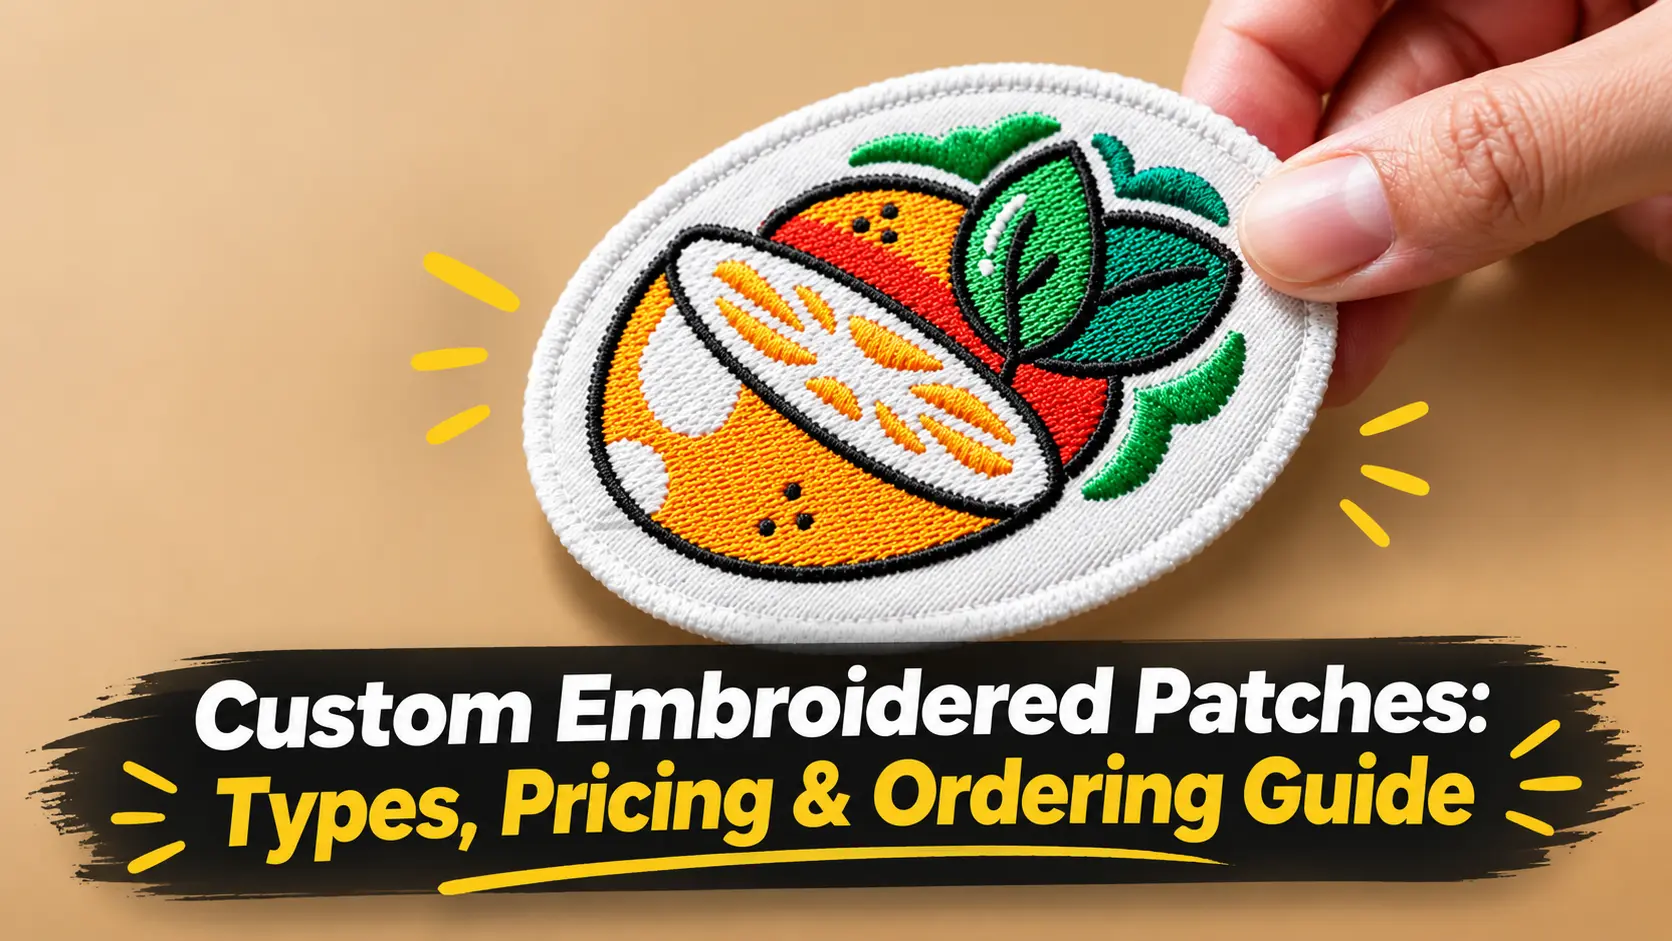
Custom embroidered patches are one of the simplest ways to put a logo, a team name or a design on clothing. They look sharp, they hold up well, and they work on jackets, caps, uniforms and bags alike.
Still, placing your first order can feel confusing. Which backing should you pick? How big should the patch be? And what makes the price go up or down?
This guide walks you through each of these questions in plain language, so you know what to expect before you order. It is written for US businesses, teams and small brands, but the basics apply to anyone. If you already know what you need, you can go straight to our custom patches page.
Quick Answers
- What it is: A custom embroidered patch is a design stitched in thread on a fabric base, usually twill, with a finished edge.
- Backing: Sew-on backing is best for uniforms. Iron-on is quick for cotton and denim. Velcro is best when patches need to be swapped.
- Price: Price depends on size, amount of stitching, number of colors and quantity.
- Artwork: Send your artwork as a vector file (AI, EPS or PDF) for the cleanest result.
What Are Custom Embroidered Patches?
An embroidered patch is a small piece of fabric with a design stitched into it using thread. The base is most often twill, a tough woven fabric that holds stitches well. The edge is finished with a border so the patch does not fray.
Because the thread sits on top of the fabric, the design has a raised, textured feel. That is why embroidered patches look so good on jackets, caps and work shirts.
People use them for company logos, school and club badges, team names, event keepsakes, and personal style. The same patch can be moved from one jacket to another, which direct embroidery cannot do.
How Embroidered Patches Are Made
Every patch goes through the same basic steps.
- Artwork. You share a logo or design. The size, shape and colors are confirmed.
- Digitizing. The artwork is turned into a stitch file. This file tells the machine where to place each stitch, which direction to go, and how dense to make it. Our patch digitizing services cover this step if you only need the file.
- Stitching. The machine stitches the design onto the base fabric. This is how custom patches embroidered on twill get their texture.
- Border and cutting. The edge is finished and the patch is cut to shape.
- Backing. Iron-on, sew-on or velcro backing is added last.
Good digitizing matters more than most people expect. Poor settings lead to curling edges, gaps in the design, or text that looks blurry.
Embroidered Patch Types and Styles
Full and partial coverage
Full coverage means thread fills the whole patch. Partial coverage leaves some twill showing in the background. Partial coverage looks lighter and uses fewer stitches, which can lower the cost.
Merrowed and satin borders
A merrowed border is the thick, rounded rope-style edge you see on classic patches. A satin border is flatter and smoother. Merrowed edges suit simple, rounded shapes. Satin or cut edges handle complex outlines better.
Embroidered vs. woven patches
Embroidered patches use thicker thread, so they feel raised and bold. Woven patches are flatter and handle very small text and fine lines better. If your design is simple and bold, choose embroidered. If it has tiny details, ask about woven.
Other styles exist too, such as PVC rubber, leather, printed and chenille patches. Each suits a different look and use.
Backing Options: Iron-On, Sew-On and Velcro
Backing decides how the patch attaches and how long it stays on.
| Backing | Best for | Things to know |
|---|---|---|
| Sew-on | Uniforms, workwear, items washed often | Strongest hold, takes longer to attach |
| Iron-on | Cotton, denim, canvas, casual clothing | Fast, but may lift after many hot washes |
| Velcro | Tactical gear, bags, swappable patches | Needs a matching loop panel on the item |
A simple rule: if the item gets washed hard, sew it on. Iron-on works poorly on nylon, leather, fleece and stretchy fabric, and on structured caps. If you are unsure, sew-on is the safe choice. Many people also add a few stitches around an iron-on patch for extra hold.
Popular Uses for Custom Patches
Embroidered custom patches show up in many places:
- Jackets and clothes. Medium and large patches suit jacket backs, chests and sleeves.
- Hats. Small patches sit on the front panel of caps. See the sizing section below.
- Uniforms. Companies, schools and scout groups use patches for names and logos.
- Sports teams. Team crests, season badges and club patches.
- Military and morale patches. Unit patches and custom designs, often with velcro backing.
- Biker clubs. Club names and chapter patches, usually large and bold.
How to Choose the Right Size and Placement
Size depends on where the patch will sit and how much detail it has.
- 1 to 2 inches: hats, sleeves and small logos.
- 3 to 4 inches: chests, backpacks and jacket fronts.
- Larger sizes: jacket backs and statement pieces.
Keep text readable. As a rule, letters should be at least about a quarter inch tall once stitched. If you are putting a patch on a cap, check that it fits within the front panel without wrapping over the seams. Tiny details often disappear in thread, so simpler designs usually look better.
Custom Embroidered Patch Pricing: What Affects the Cost
There is no single price, because every patch is made to order. These are the main factors:
- Size. Bigger patches use more fabric and thread.
- Stitch coverage. More stitching means more machine time.
- Number of colors. More thread colors can add cost.
- Border and shape. Custom shapes can cost more than standard ones.
- Quantity. The price per patch usually drops as the order gets bigger.
Ways to keep the cost down:
- Make the patch a little smaller.
- Simplify the design and remove tiny details.
- Order a slightly larger batch if you will need more later.
- Use partial coverage if the design allows.
The most reliable way to know the price is to send your artwork and ask for a quote.
Minimum Order Quantity: What to Expect
MOQ is the smallest number of patches a maker will produce in one order. Years ago, many shops asked for 50 or 100 patches. Now many makers accept small runs, which helps small teams, new brands and one-off projects.
When you compare makers, ask about the minimum, whether a digital proof is included, and whether setup or digitizing is charged separately. These details change the real cost more than the headline price.
Artwork Requirements and Digitizing
Clean artwork gives you a clean patch.
- Best format: vector files such as AI, EPS or PDF. They keep their sharpness at any size.
- Other formats: PNG or JPG can work if the resolution is high, around 300 DPI at the final size. Low-quality images may need to be redrawn first.
- Set the size: make the artwork the same size as the patch you want.
- Keep it simple: thin lines and very small text may not stitch clearly.
One thing people often miss: a vector file is artwork, not a stitch file. An embroidery machine needs a digitized file with stitch types, direction, density and border. If you already have your own machine or patch maker, professional logo digitizing gives you a file that is ready to run.
How to Order Custom Embroidered Patches
Ordering is simple when you follow these steps.
- Send your artwork. Share your logo or design, along with the size, quantity and backing you want.
- Review the digital proof. You see a mockup of the patch and a price quote before anything is made.
- Approve and produce. After you approve the proof, production begins.
- Receive your patches. The finished patches are packed and shipped to you.
At PSA Digitizing, you can send your design and request a quote for embroidered, woven, PVC and other patch types on the custom patches page. Ask for a proof first and check every detail before you approve it.
How to Attach and Care for Embroidered Patches
Iron-on patches:
- Pre-heat the iron on a medium cotton setting, with no steam.
- Place the patch where you want it and cover it with a thin cloth.
- Press firmly for 20 to 30 seconds without sliding the iron.
- Flip the garment and press the back of the patch for a few seconds more.
- Let it cool fully before you wear it.
Sew-on patches: use a needle and thread that match the border, and stitch all the way around the edge.
Washing: turn the garment inside out, use cool water and a gentle cycle, and let it air dry if you can. Do not iron directly on the patch. Always use a cloth between the iron and the thread. Repeated hot washes are the most common reason iron-on patches start to lift.
Conclusion
Ordering patches is not hard. You just need to make three choices: pick the right backing, keep your design simple, and send a clear vector file. Do these, and your patches will come out clean.
If you are not sure about the size or the backing, ask before you order. It is easier to sort out a small doubt now than to redo the whole batch later.
Ready to start? Send your design to PSA Digitizing through our custom patches page and get a quote with a digital proof.
Frequently Asked Questions
What are custom embroidered patches made of?
They are stitched with polyester or rayon thread on a base fabric, usually twill. The edge is finished with a border so the patch does not fray.
How long do embroidered patches last?
With gentle washing and a secure attachment, they often outlast the garment they are on. Sew-on patches usually last the longest.
Can I put an embroidered patch on a hat?
Yes. Sewing is the safest method for caps. Iron-on does not always work well on curved or structured hats, and velcro works if the cap has a loop panel.
What file format do I need for my design?
A vector file such as AI, EPS or PDF is best. A high-resolution PNG or JPG can also work, but it may need cleanup before it can be stitched.
Is there a minimum order for custom embroidered patches?
It depends on the maker. Many now accept small orders, which suits teams and small brands. Always ask for the minimum before you send your artwork.
How is the price of a patch decided?
Mainly by size, amount of stitching, number of colors and how many patches you order. A bigger order usually lowers the price per patch.
What is the difference between embroidered and woven patches?
Embroidered patches are thicker and have a raised, textured look. Woven patches are flatter and show finer detail, which helps with very small text.
Can small text be stitched on custom-made embroidered patches?
Often yes, but very small letters can blur once stitched. As a rule, keep text about a quarter inch tall or larger, and simplify tiny details.
Do you ship custom patches across the USA?
Yes. Orders are shipped to addresses across the USA. Share your shipping location when you request a quote so the delivery details can be confirmed.